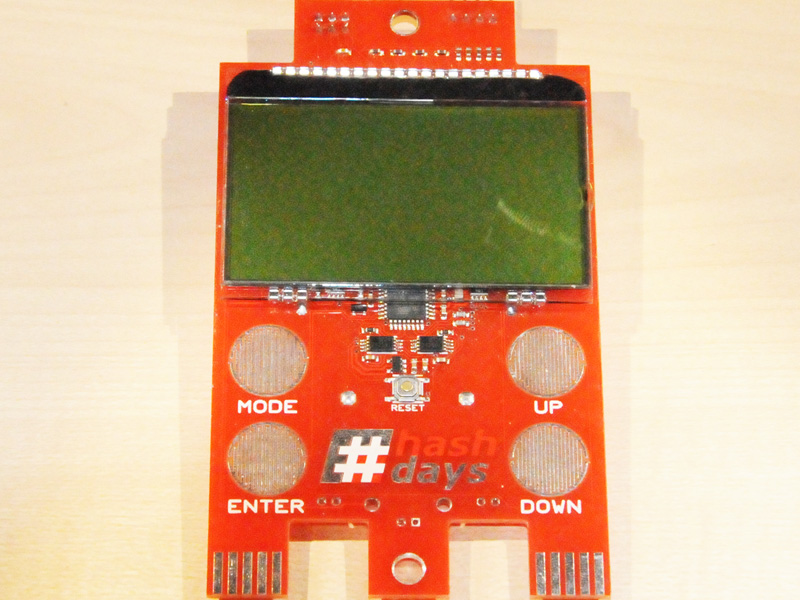
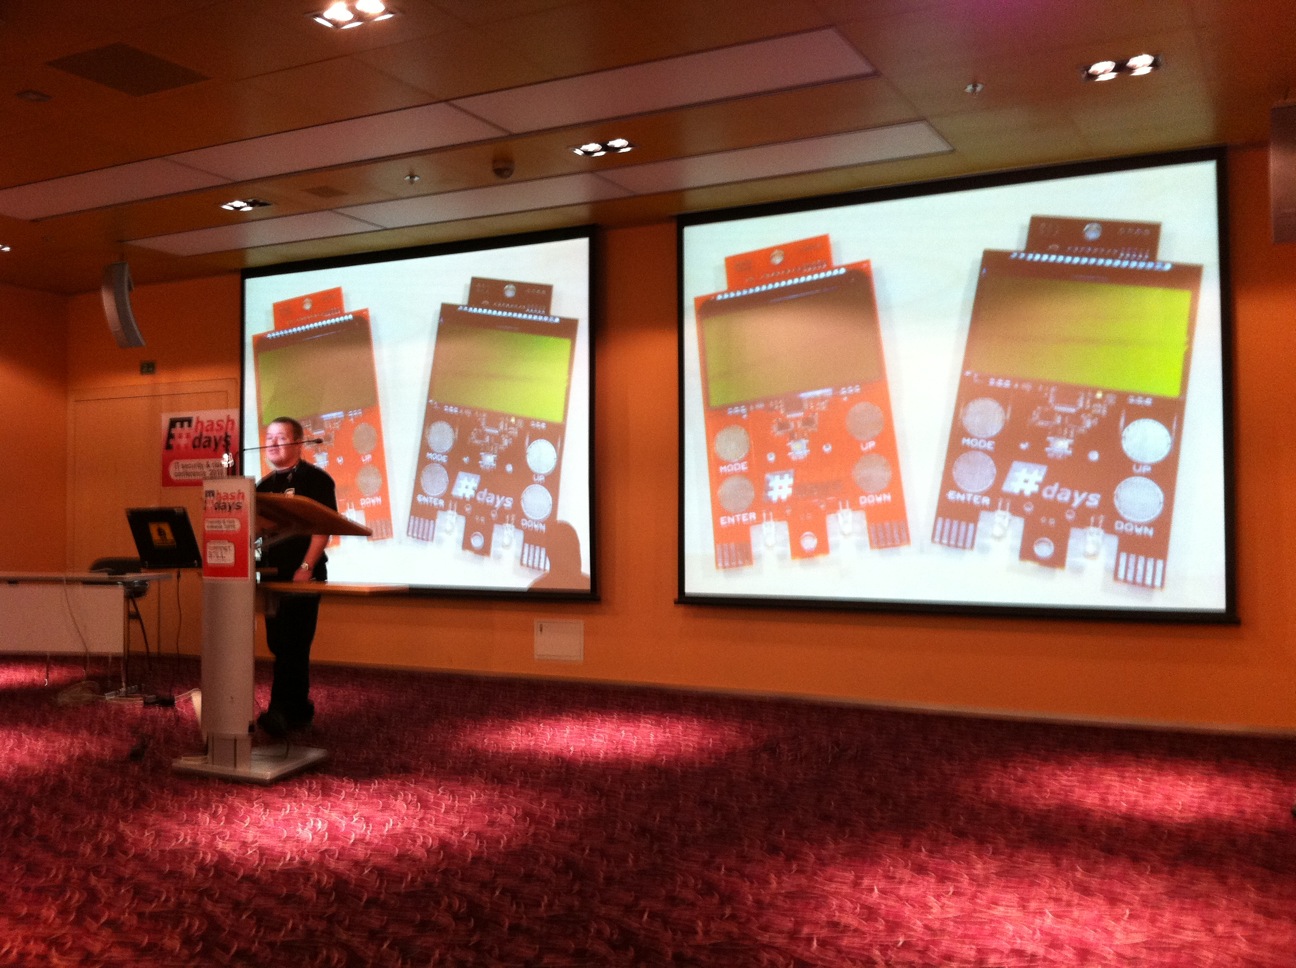
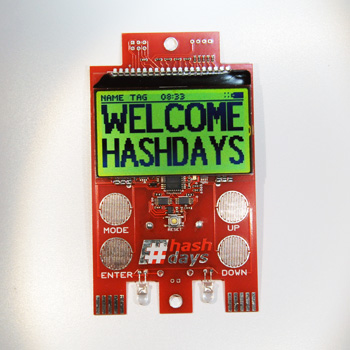
Hashdays Badge 2010
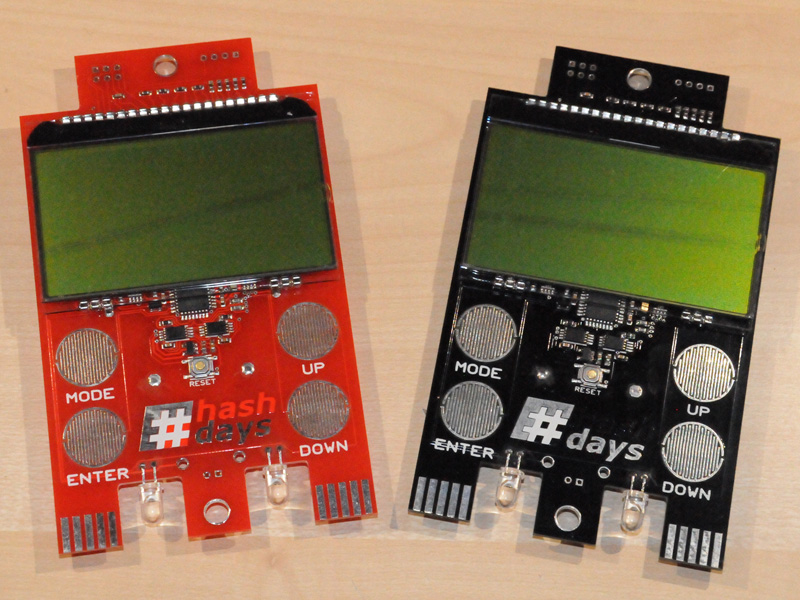
Our first hardware conference badge in 2010 had a large LCD display used as name tag. Through a communication protocol over LEDs the attendees were able to play rock-paper-scissors-lizard-spock against each other.
Specifications
| Part |
Type |
Model |
Producer |
Datasheet |
URL |
| CPU |
Microcontroller |
ATmega168 |
Atmel |
|
Click |
| LCD |
128 x 64 Pixels, 2.7 inch |
DOGL128L-6 |
Electronic Assembly |
PDF |
Click |
| EEprom |
2 x 32KB serial I2C |
CAT24C256 |
ON Semiconductor |
PDF |
Click |
| LDO DCDC |
3.1V, 150mA, max input: 12V |
NCV551SN31T1G |
ON Semiconductor |
PDF |
Click |
| LED |
hyper orange, 12000 mcd |
WP7113SEC/J |
Kingbright |
|
Click |
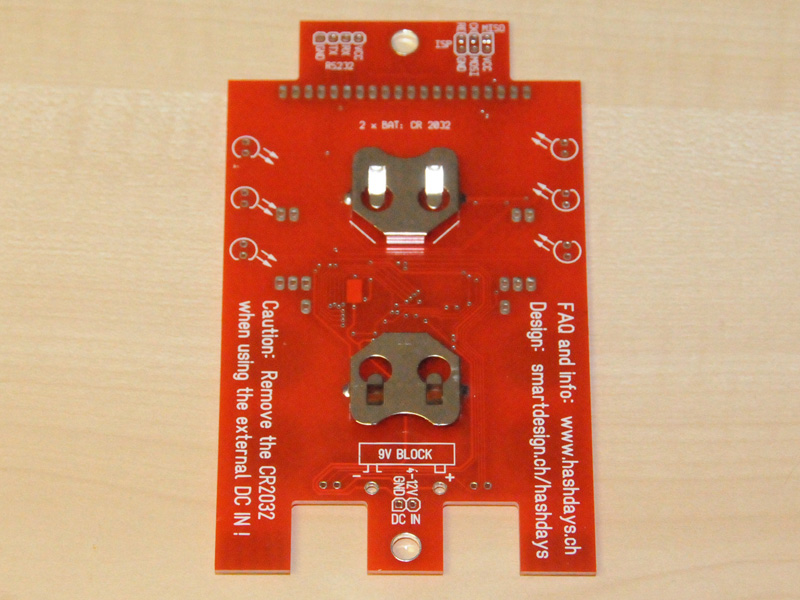
| Battery |
2 x CR2032, 3V |
|
|
|
|
Software Features: Name tag, conference schedule, map, clock, lizard-spock game, eastereggs
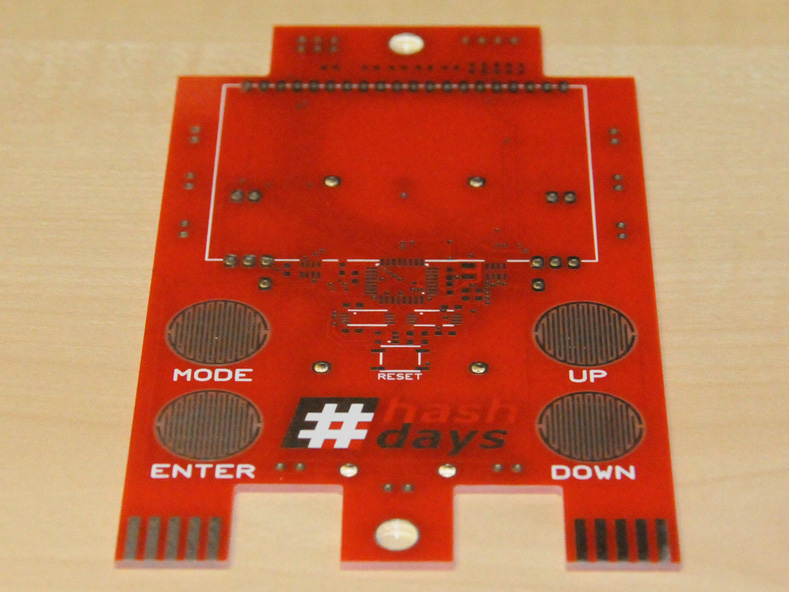
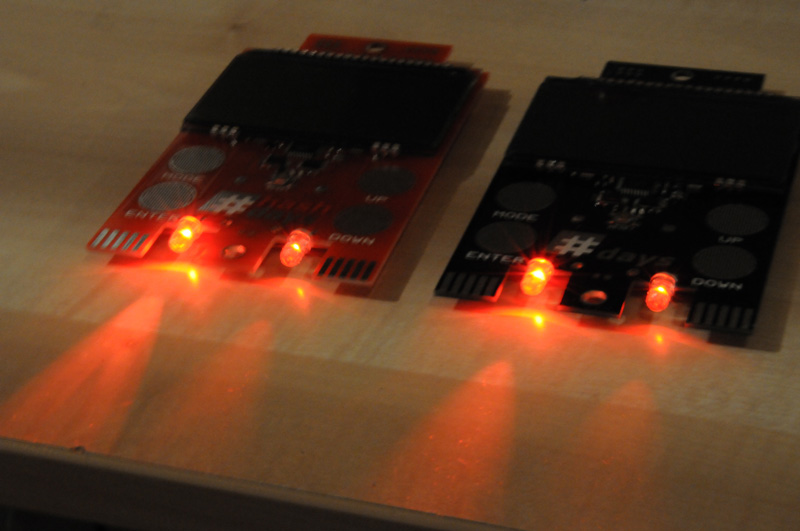
Hardware Features: Resistive touch sensors, 2 LEDs, External connection for a 9 Volt block
Connections: ISP (6 pin), 4 pin serial
6 optional charlieplexed LEDs
Ext DC input: 4 - 12 Volt
LED communication
The hashdays badge uses a standard, very bright LED for communicating between 2 badges.
LEDs are are basically also photodiodes with a small capacitance and as such, LED are also light detectors. If you charge this capacitance, the discharge time depends on the incoming amount of light. With a microcontroller, you can measure that time and decide, if the LED is lit or in the dark. Some guys at Mitsubishi invented an easy protocol on this basis, giving a bi-directional communication possibility between 2 LEDs.
For good performance, the LED must be a very bright one. We tested a couple of LEDs, that did not work. Green and red/orange work best. If you have such a working LED, don't expect the communication range to be more than 7 cm (3 inches). Also, the protocol has only a throughoutput of 250 bits per second.
This idea has been around for quite a while, here are a few Links:
The protocol and very good informations: http://www.merl.com/projects/LEDcomm/
Famous video of an 8 by 8 LED matrix: http://cs.nyu.edu/~jhan/ledtouch/index.html
My own first test: http://www.youtube.com/watch?v=i2HGF3eNYHg
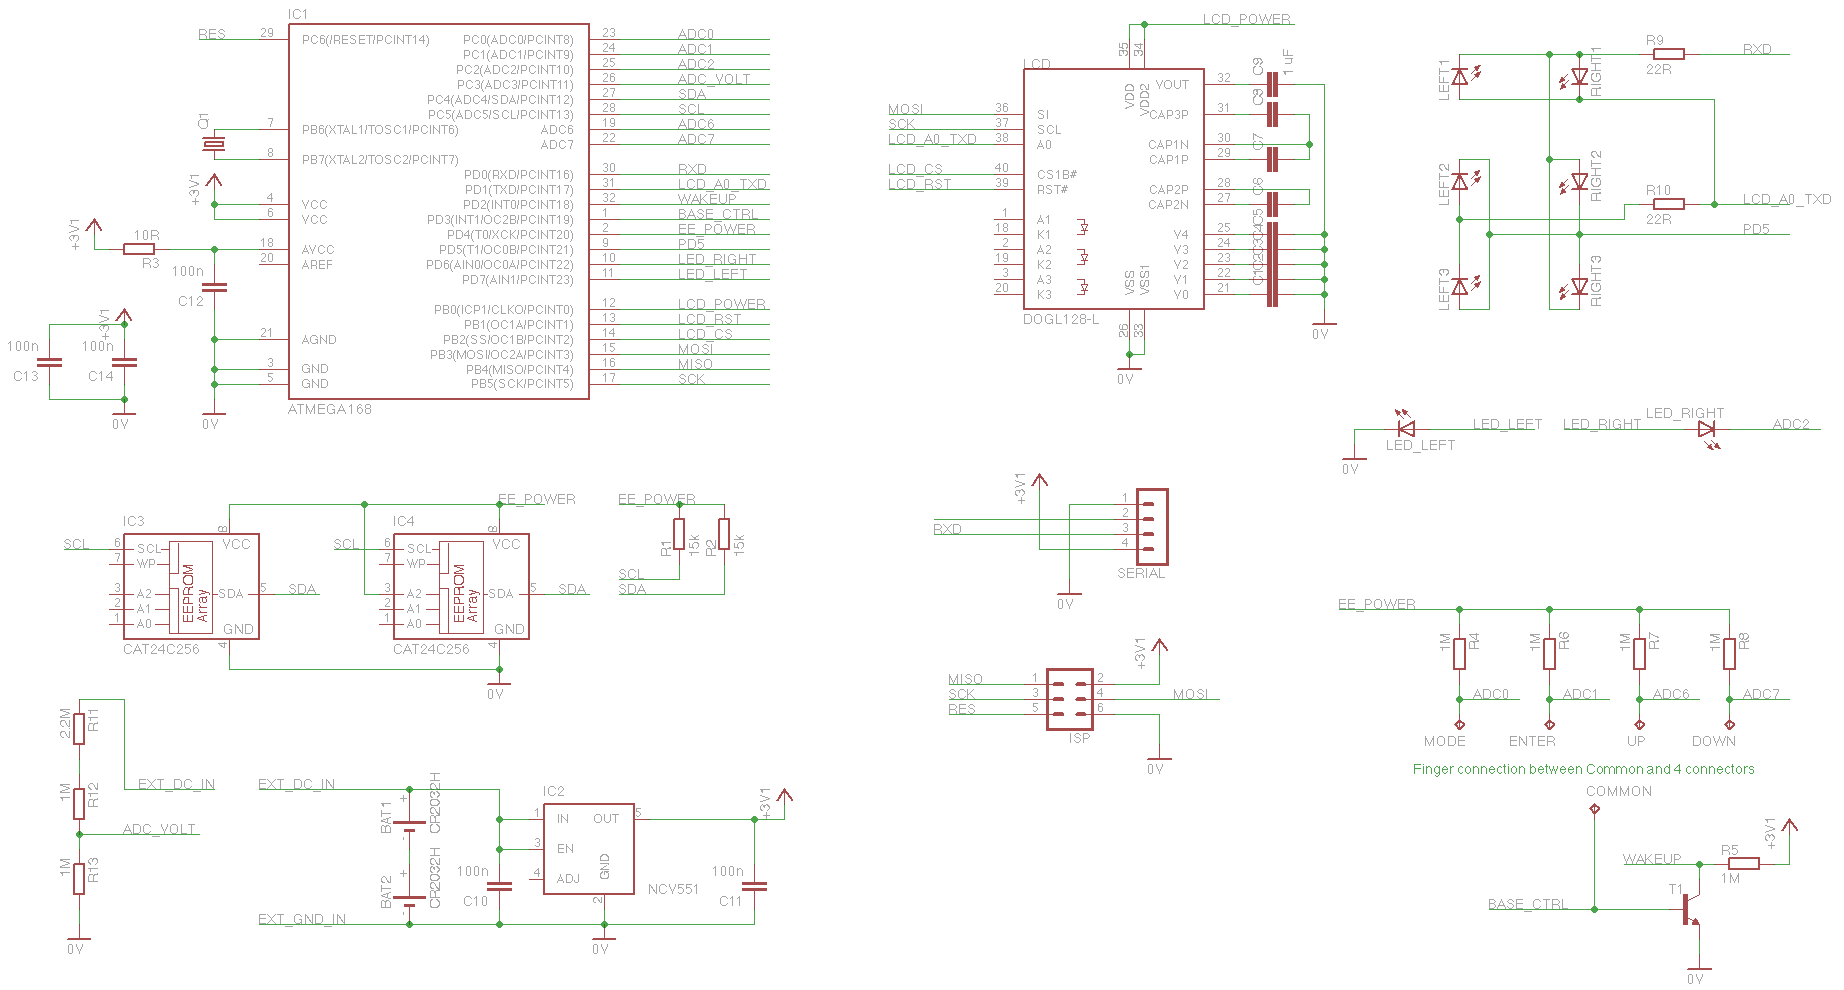
Schematics
FAQ
FAQ general
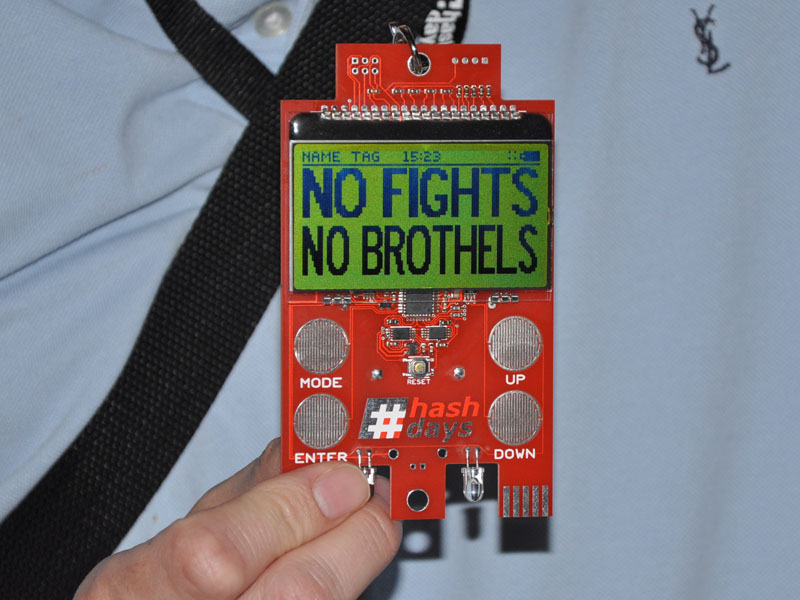
- How can I change my Name on the display?
- Easy: While the name is shown, press Enter. Then choose your first letter with the Up and Down sensors. After that, press Enter again to get to the next letter. When your done, hit mode.
- There are some kind of black strokes on my display, why's that?
- The display has a protective foil attached. If you see the black strokes, you can peel off this plastic foil.
- Why is there a red and a black version?
- The red one is for participants, the black one is for the speakers and the staff members.
- Will I loose my settings, when I change the battery?
- No, most of the settings are stored in the EEproms. Though the clock might be off, and needs to be changed after the new batteries are installed.
FAQ technical
- Can I reprogram the badge?
- Yes, sure. There are no Lock-Fusebits set.
- Is there an Arduino bootloader for the badge?
- Yes, 2 guys ported an Arduino bootloader for the badge. More infos in the Arduino section.
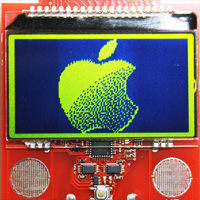
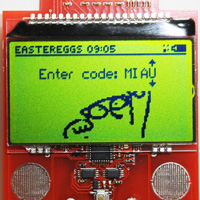
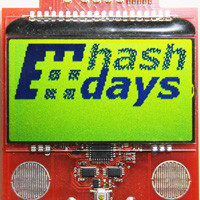
Eastereggs
Here are all the easteregg codes:
AAPL, ANTL, APPL, BOMB, CAKE, DAYS, DONT, DOVE, EART, FLOW, HASH, HELP, HINT, LOGO,
MEOW, MIAU, RWCW, SNOW, WORL
Here are some pictures of what the eastereggs looked like:
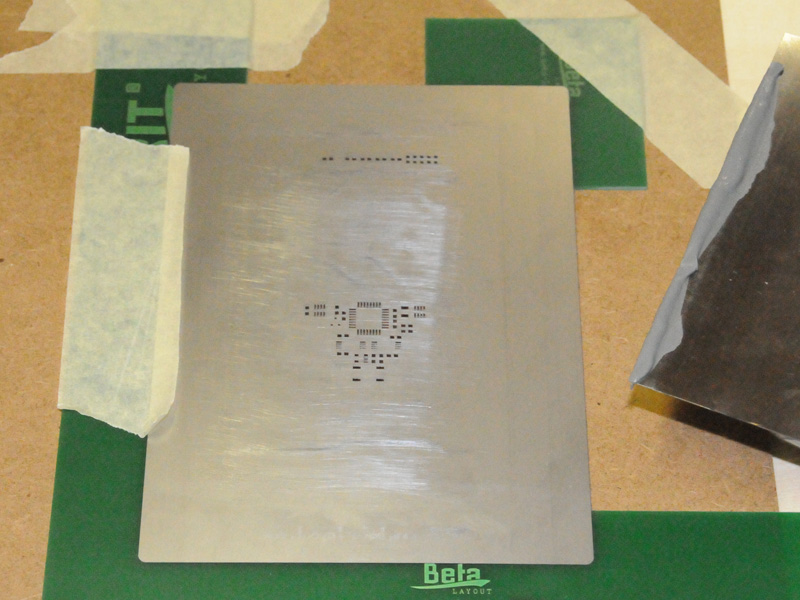
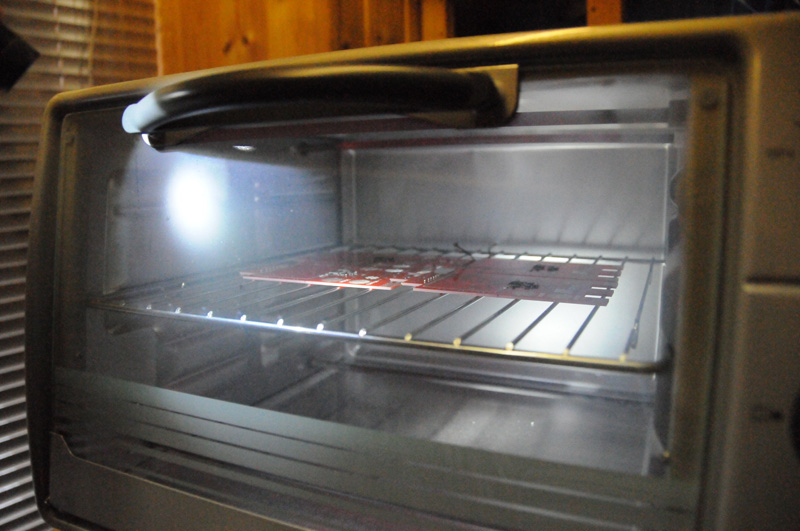
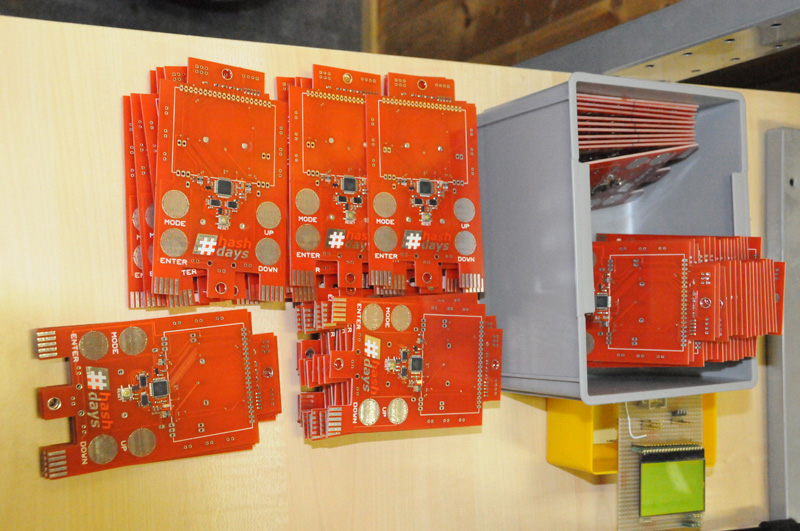
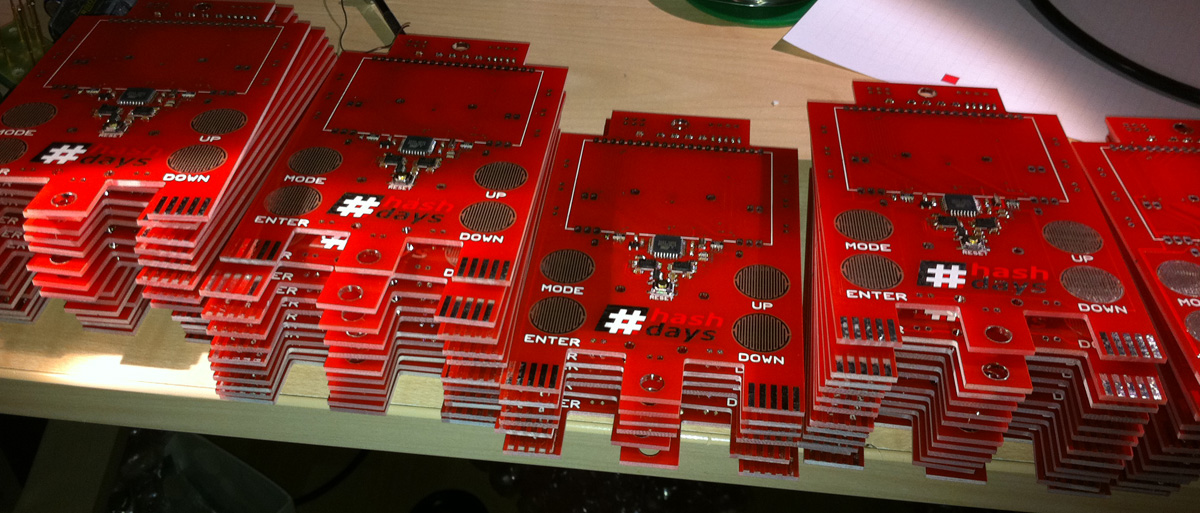
Production
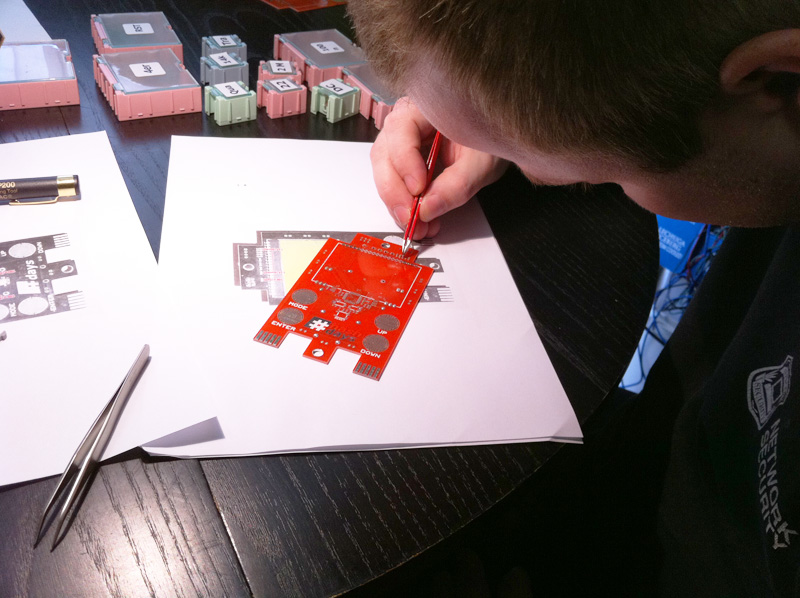
The 2010 badge was designed and created by Roman Wüest, here's a picture of me:
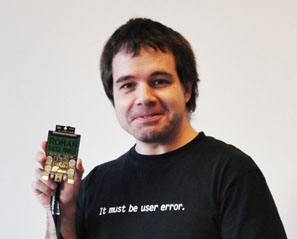
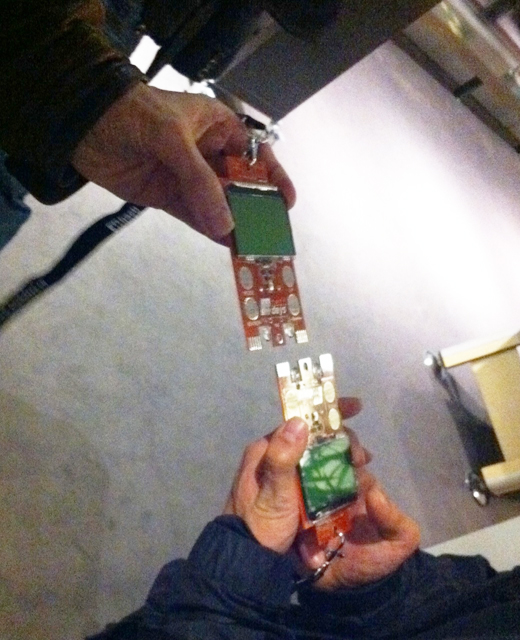
I designed the circuit board, programmed the ATmega168 microcontroller in Assembler and did the reflow soldering as well. I have to thank my wife Nicole, as well as my brothers Benni and Candid for the help with the soldering!!
Together, the four of us did the soldering of the aprox 180 badges in about 8 evenings. (About 20 pcs per hour on the SMD components, and additional time to attach the LCD and LED and Bat holders...)
The first idea for the badge emerged a year before the conference. The design went then through a couple of prototype versions. Availability of parts we wanted crossed our early prototype plans a couple of times. Specifically we wanted an ATmega328, which was still virtually unavailable, and also we wanted a different display.
The badge code was done in Assembler, because I had a lot of routines already at hand from earlier projects. It took at least a couple of workweeks to get the code for hashdays up and running.
Thanks for reading, and hope you enjoy your badge as much as we did making it!
Ardunio
Urs and Daniel ported an Arduino loader for the badge in record time (a few hours). Additionally, they ported a few games and programs. Many thanks!
Here is what they wrote:
The Hasdays Badge is a perfect Arduino clone with lot's on nice extras like:
- A huge graphics display
- Four touch sensitive button pads that can even provide analogue values
- Two LEDs specially selected for to be used as sensors as well
- And of course the cool badge-style
Here some Information and Files on how to set up the badge:
- You need a USB-Serial interface since there is no FTDI or similar on the badge
- Solder the ISP-Pins to flash the Arduino-Bootloader on the badge (pads are prepared, watch the orientation)
- Load the appropriate boot-loader using a ISP programmer and avrdude (don't use the arduino software - fuses must be different...)
- Set the fuses
- Solder the serial interface pins for the communication
- Get the libraries
- Have fun!
The examples Zip contains some codes and hex files we already adapted for the badge including:
- AnalogInput
- GraphicTest
- BackToHashBadge.hex
- Happy Birthday Sound
- BioPassword
- BlinkBadge
- SpaceTrash
- Breakorino
- DispVal
- Stars
- Fonts
- Walk
- GraphicDraw
Arduino Downloads
Instructions PDF: Instructions.pdf
Arduino Bootloader: BadgeBootloader.zip
Example Arduino Programs: ArduinoExamples.zip